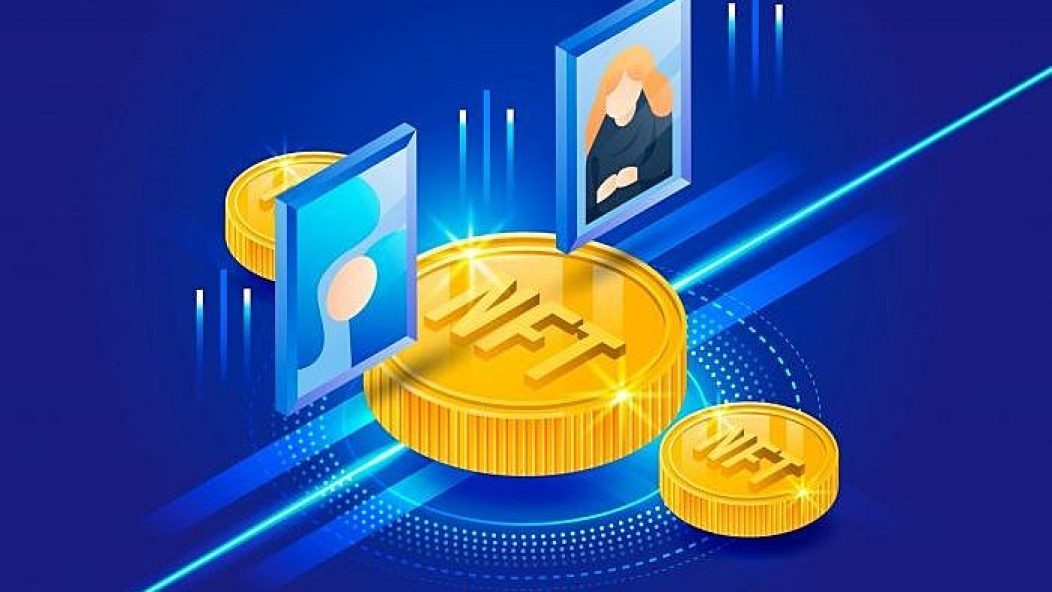
How to make NFTs—a guide to creating your own unique artworks
There are many guides to what NFTs are, including my own. Simply put, a non-fungible token is a unit of data stored on blockchain technology, which certifies a digital asset to be unique and therefore not interchangeable.
While many people are becoming familiar with what they are and where to find them, it can still be confusing about how they really work and where they come from in the first place. The process is simple, although it requires some understanding of how that process actually works.
Read more: What exactly are NFTs? Understanding the world of Non-Fungible Tokens
Minting, another fancy way for creating, an NFT is a seamless experience, if you follow certain beginner-friendly steps. Basically, anyone can create an NFT. It doesn’t require any technical experience. After all, blockchain technology is meant for everyone.
In this guide, we will explain the functionalities of two rivals — Ethereum and Cardano — so you have a better understanding of these two different blockchains. I will walk you through the creation of an NFT in both blockchains, and you will understand that the process in most of the steps is nearly the same.
Basic steps
Step 1: Create an exchange account and buy ETH or ADA
The first step shouldn’t surprise you because, like in the real world, we need a currency (USD, EUR, etc.) to complete a function — here as well, we need to purchase the native currency of each blockchain to do anything, including minting. For anyone familiar with this step, you can skip to the next.
For those who are completely new to the cryptocurrency world, I’d suggest you create an account with a reputable exchange such as Binance, KuCoin or Coinbase. Believe me: This will save you some precious time. The process is really easy and shouldn’t take long to complete.
Now that you’re done creating your account, you need to buy ETH or ADA, depending on which blockchain you want to mint. But why? As I explained above, every function requires a currency, mainly to pay the fees.
Step 2: Create an Ethereum or a Cardano wallet
In a decentralized world, you’ll need a native wallet to not only mint but hold the keys to your own wealth. And NFTs are no different — they’re considered an investment, and the only way you can store them is in a native wallet. In our case, the most important reason that you need a native wallet is because the minting process will happen in co-operation, mainly with a marketplace.
For the Ethereum blockchain
There are many Ethereum wallets out there. But by far the most popular is MetaMask (a browser extension). Once installed, you will need to create your wallet, which is quick and easy if you follow the instructions. It’s important to note that you will need to write down a 12-word seed phrase, which represents the keys to your wallet — so never share with anyone or lose them.
For the Cardano blockchain
Even though Cardano is a newer blockchain in the Layer 1 category, it supports a great number of wallets as well. But the most popular so far has been the Yoroi Light Wallet (a browser extension). Once installed, you will need to create your wallet. Be careful, though, because you will need to select the Cardano wallet, as Ergo blockchain is also supported. It’s a quick and easy process, much like MetaMask. Once again, I need to remind you to write down the 15-word seed phrase — it’s the keys to your wallet.
Step 3: Send ETH/ADA from the exchange to your MetaMask/Yoroi Wallet
Here you are, ready to move into minting. The next step is to send the purchased ETH or ADA to their respective wallets from your exchange account. The process is quite simple and is as follows:
- Press the token you want to send (ETH or ADA) and select the withdrawal button.
- You will be asked to fill in some information.
- Copy the receiving public address (0x.. for ETH and addr.. for ADA) from your wallet and paste it in the sending address space in your exchange account,
- Next, you will need to add the amount you want to send and actually press the withdrawal button
And that’s it. Now you just need to wait for your funds to arrive in your wallet. (This usually takes somewhere around five to 10 minutes, depending on the network load.)
Minting steps
Step 4: Sign up to a Minter marketplace/website
For the Ethereum blockchain
There are many options with which you can mint your NFT in the Ethereum blockchain. Some of the options include Mintable.app, Foundation.app, Rarible.com and Opensea.io. Here, we will explore the option of the most famous one, which is OpenSea. Aside from the fact that you can mint in this platform, OpenSea is also a marketplace like the aforementioned options.
Now as you enter Opensea.io, you will need to click the displaying wallet button on the top right corner of the website (if it doesn’t initiate a connection immediately). Pick connect with MetaMask wallet and sign the connection transaction to create an account (here you pay a one-time signup fee with your ETH — the fee depends on the condition of the network). And that’s it — you’re now ready to move to the final step.
For the Cardano blockchain
Here we have a quite different method, but there are a lot of options as well, such as Adatokenizer.io, Minterr.io, Nft-maker.io and Tokhun.io. It’s important to note that from these options, the only one that’s a marketplace as well is Tokhun.io, and it uses its own wallet to support minting. So if you want to mint with Tokhun, you just have to skip step three and create an account using a Google email. For everyone else, we will explore the option of Minterr.io for the use of Yoroi Wallet. On Minterr, you only have to connect your Yoroi Wallet, which takes us to the final step.
Step 5: The process of minting
For the Ethereum blockchain
To mint an NFT on OpenSea, click “Create” next to your profile picture on the top right corner. Or if you want to mint multiple NFTs as part of a collection, click “My Collections” under your profile picture. But for the remainder of this article, we’ll only focus on “Create,” which is for one NFT.
After you have clicked on the “Create” button, a page will appear where you will need to input some information. Such as:
- An image no bigger than 100 MB (the supported formats are listed)
- The name of your NFT
- A website link (if it’s from a collection or to describe the NFT)
- A description of the item (optional)
- Attach traits and properties (making it rarer)
- Configuring its supply
When you’re done, click the “Create” blue button on the bottom, and that’s it. Your newly minted NFT will appear on OpenSea.
For the Cardano blockchain
To mint a CNFT (Cardano NFT) on Minterr.io, just click the “Mint Token” button on the top right corner. A page for entering the data will appear. For multiple tokens, you actually need to head over to Nft-maker.io (Minterr only supports 30 max). But for the sake of this article, we’ll only focus on minting a single NFT.
After you have clicked “Mint Token,” you’ll be required to do the following steps:
- Send two ADA (using your Yoroi Wallet) to the Session Address to confirm your wallet
- Input your receiving wallet to the “Mint to Address” space
- Upload your file
After you’re done, just click the green “Mint Tokens!” button, and congratulations, your token is now sent to your Yoroi Wallet.
Final thoughts
As you can see, some steps don’t differ from blockchain to blockchain, and the process is fairly easy. Anyone can do it. The main difference that you will find is the fee you have to pay on each blockchain (which mainly has to do with selling your art). The only choice you have to take as a creator is which blockchain suits you best.
DISCLAIMER: THIS IS NOT FINANCIAL ADVICE. Please do your own research and consult with professionals when making any investments.